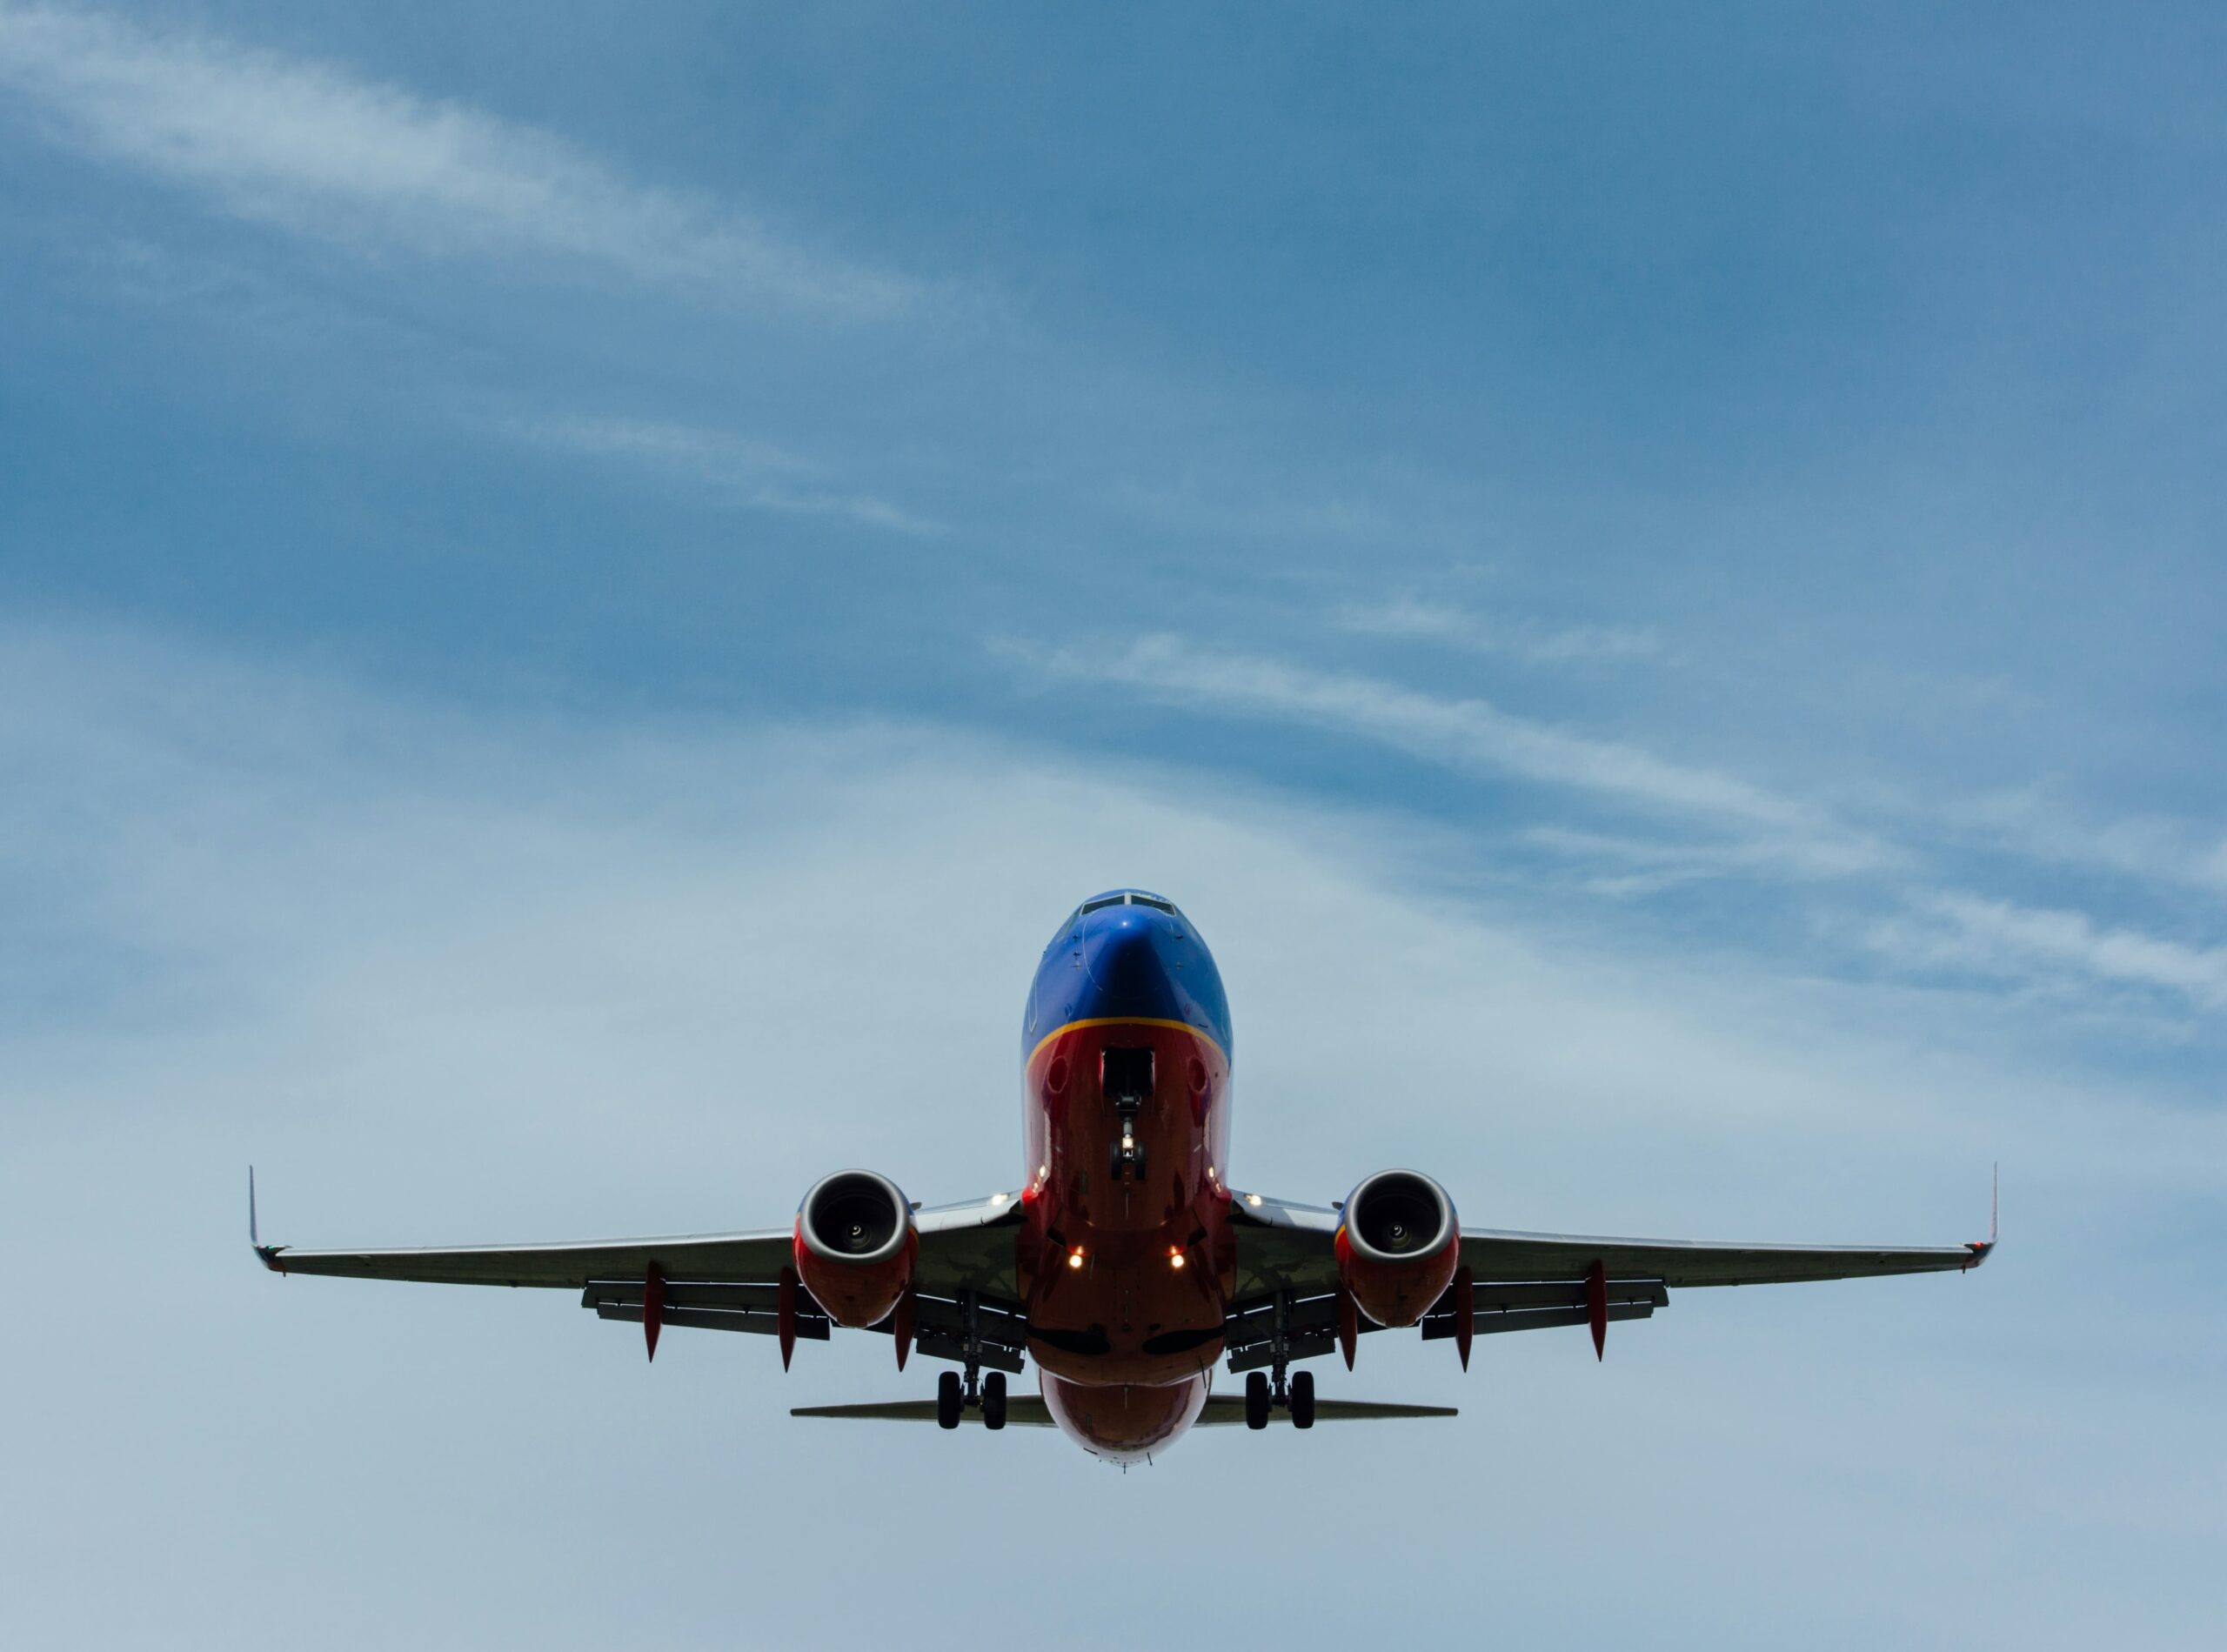
As I prepare to leave for Tuscany where I’ll be teaching a workshop next week, I’ve had a number of people ask me about the best way to fly with pastels. Some have also asked what materials I take when I go on a plein air trip. So I thought I’d use this blog to share my travel-with-pastels tips as well as what I take with me to paint on location.
This is specifically for travelling by aeroplane as, if you travel by car, you can usually take more with you. However…I should tell you that I pretty much take the same supplies regardless of the mode of transportation.
Because of the nature of the workshop I’m teaching this time in Tuscany, along with pastel-related materials, I’ll also be taking a toned sketchbook, a mixed media sketchbook, and a small watercolour palette plus brush. I won’t go into the details of these supplies as these are extras I normally wouldn’t take. (The workshop is focused on how to sketch on location and then work up pastel paintings back in the studio from those sketches and photos.)
Travelling by air means streamlining your supplies as much as possible. I take pastels from my Unison Colour set and break them into smaller pieces and then gather them in a smaller box. I don’t want to be loaded down by weight! I also don’t need a whole heap of pastels as I’m very familiar with the range of colours and values of the ones in my set and will make those work wherever I am and whatever I am painting. That’s the idea anyway!
When I fly with pastels, I always pack them in my carry-on luggage. I want to be right there if security wants to open the box. As necessary, I can guide them as they open them up. In the past, I used to carry whole sticks but I’ve found that the broken pastels attract less security attention. (My story is the whole sticks look like bullets all neatly lined up!)
The rest of my supplies I pack in my suitcase. I always pack all my supplies together in a large clear plastic bag. That way a) they can be easily seen b) they can be taken out of the suitcase in one go and c) any residue pastel is contained! I usually pack this package close to the top of my suitcase with a couple of soft items like sweaters on top. Again, this gives easy access for security purposes.
Here are the rest of the materials I travel with when I fly with pastels:
- First and foremost are my pastels! As explained above, I take very few. These are all from my Unison Colour set
- Paper. I love UART’s pads of 9 x 12 in paper that come with glassine sheets between the pages. That way I already of glassine protection to place over my work. And the paper is all neat and tidily contained
- A small sketchbook plus a couple of pencils for thumbnails. I also have a sharpener. (If I’m teaching, I also have black and grey markers)
- A lightweight drawing board
- A piece of foam core cut to a similar size of the drawing board. I tape finished work to this and when I return home, sandwich the work, covering it all with the drawing board
- If I’m teaching at a number of venues and also doing a lot of work en plein air, I bring my trusty Mabef easel. It folds up so well and weighs about 4lbs (1.8kg). If I have my easel, I also have a light wooden tray in which my pastels sit.
- White or black tape to attach the paper to the board (No coloured tape please!)
- Vine charcoal to draw up the image on the sanded paper
- A small container (I use a small meat tray from the supermarket) for collecting the colours you’re working with in the moment
- A roll of toilet paper to clean pastels as I work and also at the end of the session
- Gloves in a bottle or other barrier cream
- Apron with pockets
- Viewfinder
- A small hand mirror for taking a quick look at my work as it progresses (I often don’t use this but the one time I left it behind, I wished I’d had it! Isn’t that just the way?!)
- Moist towelettes
- Cap/Hat
- Sunscreen
- Water bottle (and maybe a snack!)
- Garbage bag for any rubbish
- A bag to carry it all in!
- When I’m teaching, I also bring a colour wheel.
Here are some photos showing my stuff! (No easel shown as I will not be taking it this time. There are easels at the venue and that way, I have less weight and more space in my suitcase!)


If you’d like my handy dandy checklist of supplies that I take en plein air, click here.
Did I miss anything? Do you have questions about how to fly with pastels? If so, be sure to leave them as a comment and I’ll get back to you!
Until next time,
~ Gail
Trending Products
