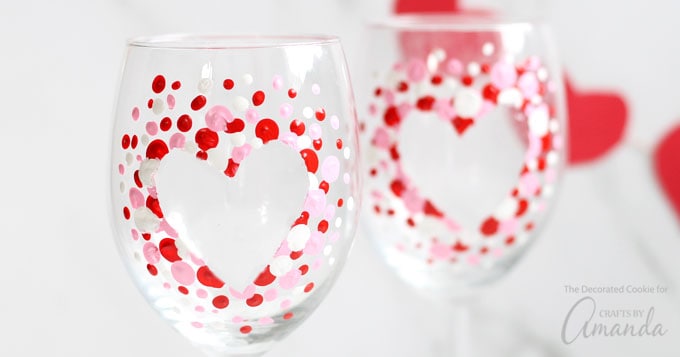
Toast to your significant other with these hand-painted Valentine’s Day wine glasses. This “how to paint wine glasses” project makes a great heart day gift packaged with a bottle of wine or chocolates.

Why this project works
Looking for how to paint wine glasses? Well, you’ve come to the right place. It’s surprisingly easy to craft your own hand-painted wine glasses. All you need is a couple of extra wine glasses, some paint from the craft store, and blue tape. And no need to choose the traditional Valentine’s Day colors. Try a collection of rainbow hearts or make a set for your favorite person in their favorite color.
More of a champagne lover? Make sure to check out these Confetti Champagne Glasses that you can easily transform into a heart design like the wine glasses below.

Crafting Tip
If you already have a bunch of regular acrylic paints, instead of buying enamels, you can add this enamel medium to your regular acrylics to make them suitable for glass.
How to Paint Wine Glasses
Get full list of supplies and directions in the printable version at the end of this post.
- Wash the glasses and let them dry. Rub alcohol or vinegar on the surface to be sure it’s totally clean. Let dry.
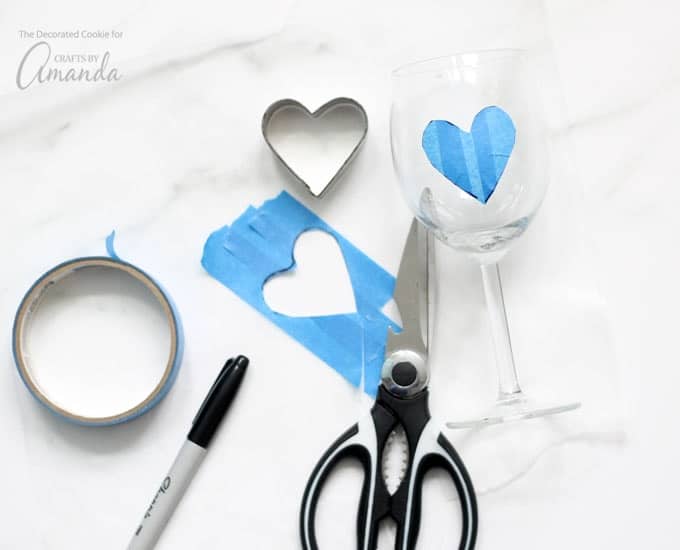
- Layer a couple strips of blue tape on wax paper until it’s wider than your heart cookie cutter. Trace the heart on the blue tape with the marker and cut out. Peel off of the wax paper and stick the tape heart to the side of the glass. Make a heart for each glass you are painting.
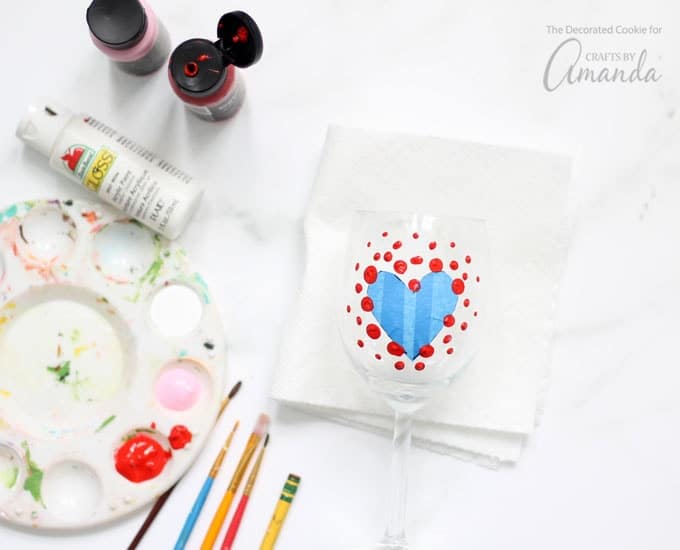
- Next, paint with acrylic enamels. Make different size dots using the non-brush end of paintbrushes. For larger dots, dip the eraser of a pencil in the paint. Make a mistake? Just wipe it off right away with a paper towel or Q-Tip. For best results, let each color dry before adding the next color.
- Let the paint set and remove the blue tape. If any paint escaped into the heart area, use a Q-Tip to remove.
- To cure, you may either let the glasses sit for 21 days before using OR place the glasses in the cold oven, turn it on to 350 degrees F for 30 minutes. Turn off the oven and open the door. Let the glasses cool completely in the oven before removing.
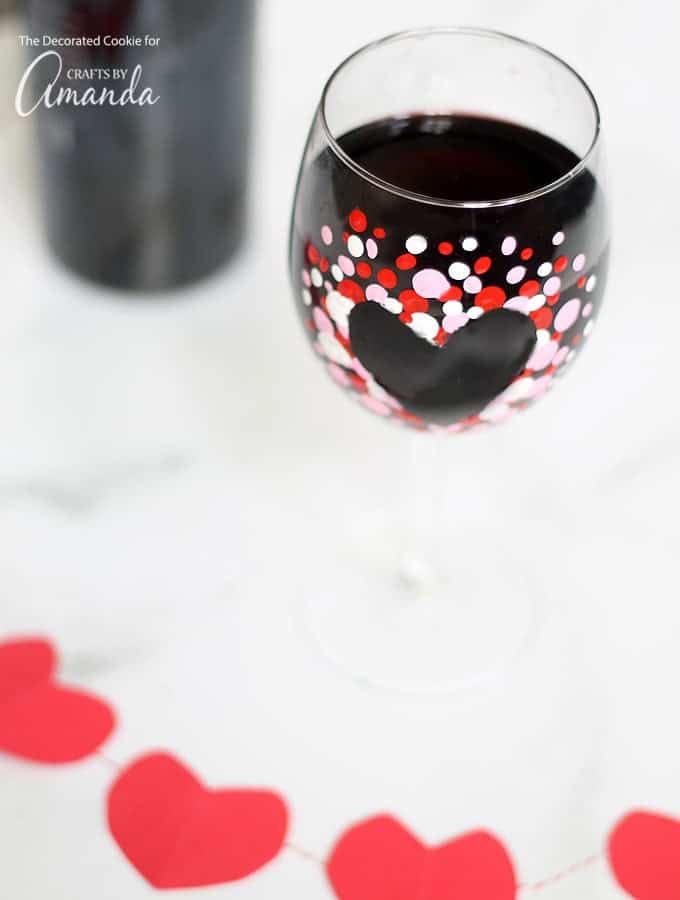
Painting on wine glasses is such a fun craft. You don’t even have to have artistic skill. Polka dots alone make these wine glasses stunning, and just right for sharing a bottle of wine.
See Wine Glass Painting How-To’s for more ideas beyond Valentine’s Day!
More Valentine Crafts
I love to create and share my projects with you! I know it’s hard to remember to come back and search, so I’ve made it easy for you with my weekly newsletter! You can subscribe for free and I’ll send you fun crafts every week right to your email.
How To Paint Wine Glasses – DIY Valentine’s Day Wine Glasses
This how to paint wine glasses project makes a great Valentine’s day gift packaged with a bottle of wine to keep, fill, and share with your own Valentine!
Supplies
- wine glasses
- rubbing alcohol or white vinegar
- wax paper
- blue painters tape
- heart cookie cutter about 2-inches
- marker
- acrylic enamel paints
Instructions
-
Wash the glasses and let them dry. Rub alcohol or vinegar on the surface to be sure it’s totally clean. Let dry.
-
Layer a couple strips of blue tape on wax paper until it’s wider than your heart cookie cutter. Trace the heart on the blue tape with the marker and cut out. Peel off of the wax paper and stick the tape heart to the side of the glass. Make a heart for each glass you are painting.
-
Paint with the acrylic enamels. Make different size dots using the non-brush end of paint brushes. For larger dots, dip the eraser of a pencil in the paint. Make a mistake? Just wipe it off right away with a paper towel or Q-Tip. For best results, let each color dry before adding the next color.
-
Let the paint set and remove the blue tape. If any paint escaped into the heart area, use a Q-Tip to remove.
-
To cure, you may either let the glasses sit for 21 days before using OR place the glasses in the cold oven, turn it on to 350 degrees F for 30 minutes. Turn off the oven and open the door. Let the glasses cool completely in the oven before removing.
This post was originally published on this blog on Jan 12, 2018.
Trending Products

